Installation
Install the plugin
- Unzip the received file into a dedicated folder in your documents.
- Double-click on Isogeo.AddinIsogeo.esriAddInX:
- The following window opens:
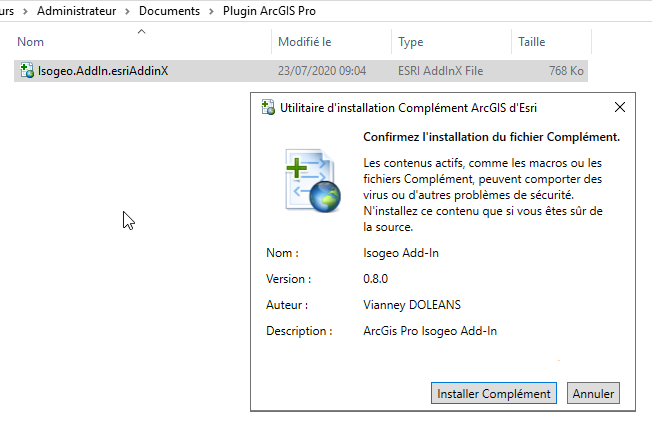
- Confirm by clicking on Install Add-on. A small dialog box confirms successful installation:"Installation successful".
The plugin is now referenced in the ArcGIS Pro add-ins. The next step is to add it to the ArcGIS Pro interface.
Add plugin to interface
- Launch ArcGIS Pro ;
- Open an existing project or start a new one ;
- Open the Complements menu and click on the Isogeo logo ;
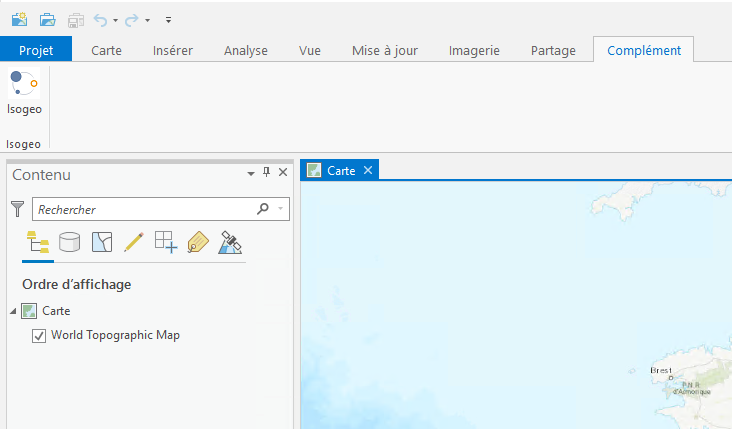
- The plugin authentication window appears.
Authenticate plugin
- Click on Alternative connection;
- Import the client_secrets.json file sent by the Isogeo team;
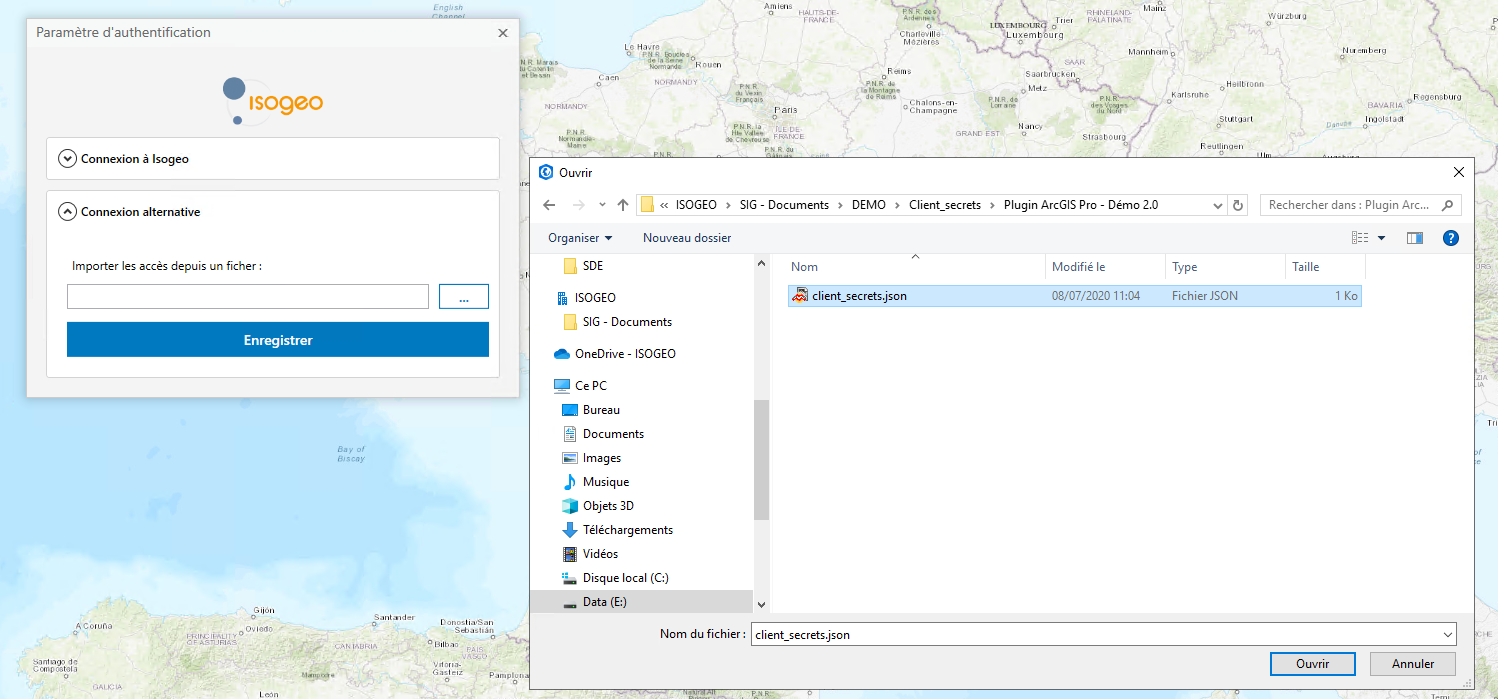
- Click on Save;
- The plugin launches.
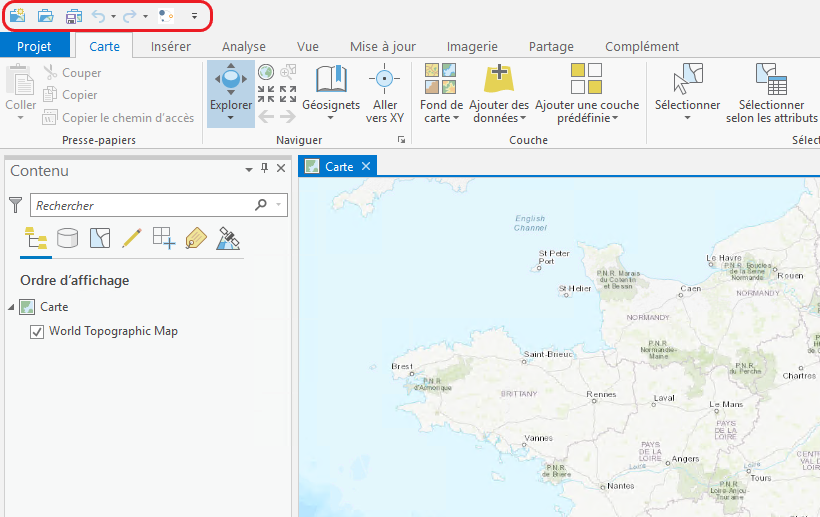
Add plugin to Quick Access toolbar
- Open the Complements menu;
- Right-click on the Isogeo logo and select Add to Quick Access toolbar;
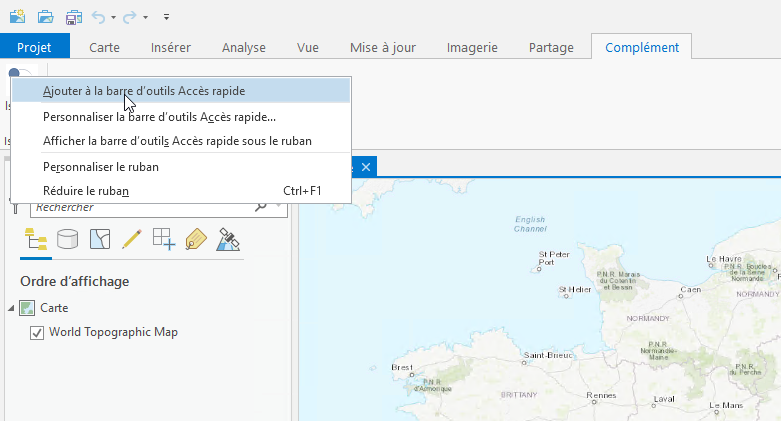
- The plugin now appears in the ;