Setting Up a Map Library
A map library must be set up through the catalog administration platform and the Portal. Below, we’ll walk you through the step-by-step process for publishing your first map.
Steps to Follow in the App and Portal
- Log in to your workgroup.
- Create a Cartotheque catalog and share it on the Portal.
- Create a record for a resource.
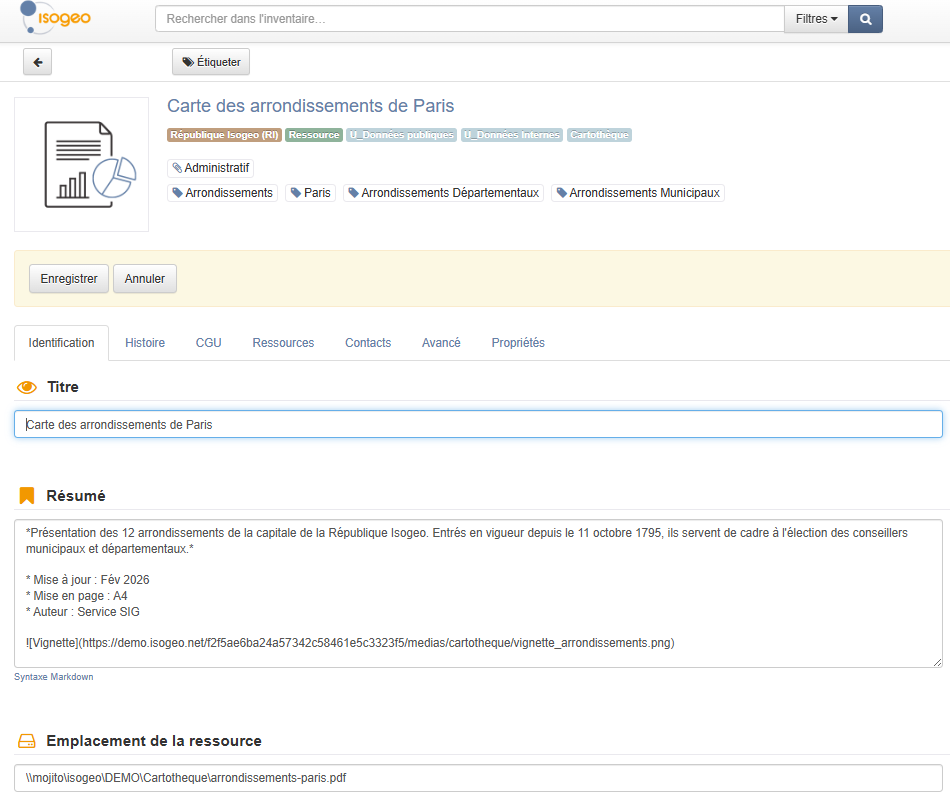
- Enter a title (e.g., Map of the Districts of Paris).
- Add a category (e.g., Administrative) and keywords (e.g., Districts, Paris).
- Enter a summary using Markdown formatting.
- Provide a description of the map (e.g., Overview of the 12 districts of the capital of the Isogeo Republic).
- In a Markdown bulleted list, include any relevant information, such as the date of the last update, the layout, the author, etc.
- Enter the URL for the map thumbnail in Markdown (e.g.,

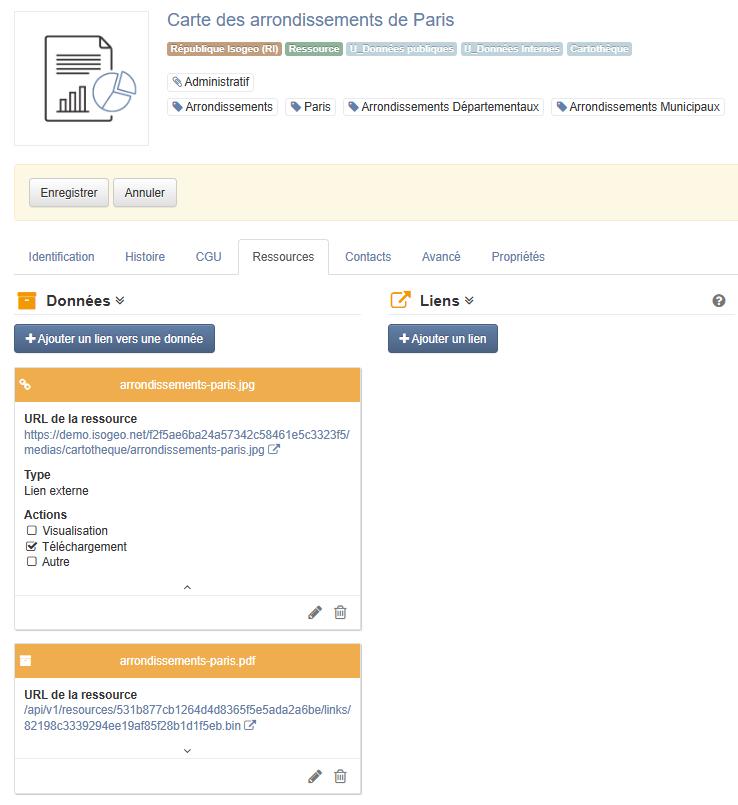
- Next, add a download link for the map in PDF and/or JPG format to the resources section of the page. You can either upload the file (e.g., arrondissements-paris.pdf) or provide a download link (e.g., arrondissements-paris.jpg).
- You can also add other metadata as needed, such as the resource's location, contact information, license, or format.
- Add the record to the Map Library catalog.
- Log in to your Portal's admin panel.
- Create a new menu item of the "Link to the 'Map Library' page" type, as shown in the example in the site's menu documentation.
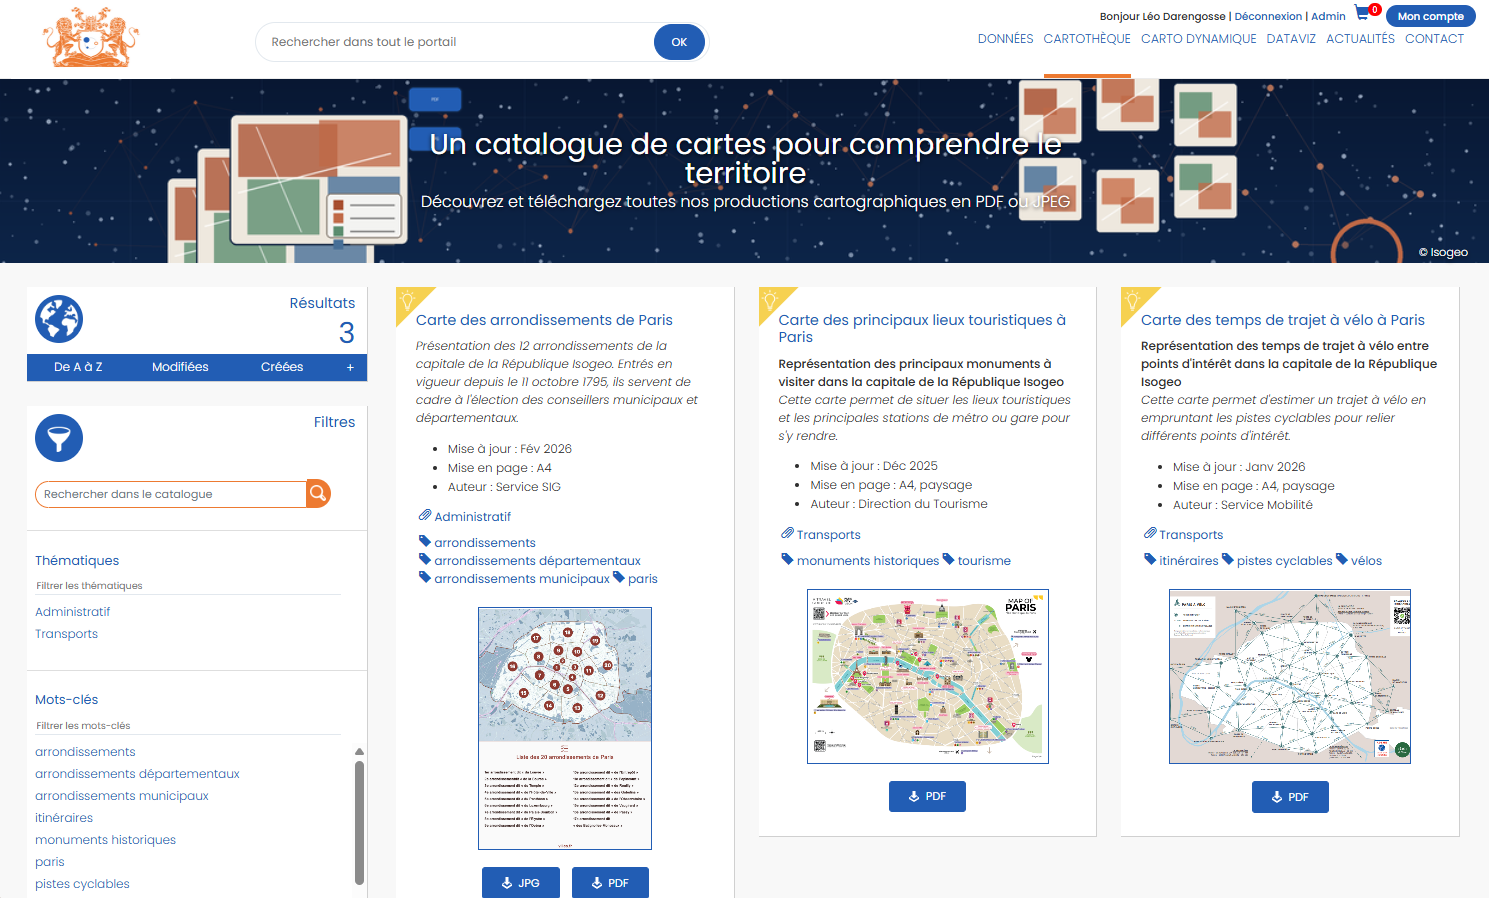
- Your map collection is ready!
Note
- To prevent map records from appearing on the Data page, you can also choose to hide them for each permission group (see Hiding Resource Records).
- You can also choose which filters you want to display.
Host the thumbnails and maps on the Portal
If you do not have a public download web server, you can use the one built into the portal to generate your download links and thumbnail displays.
- Create a "
Cartotheque" folder in the Portal's media manager. This folder will be used to store thumbnails and maps.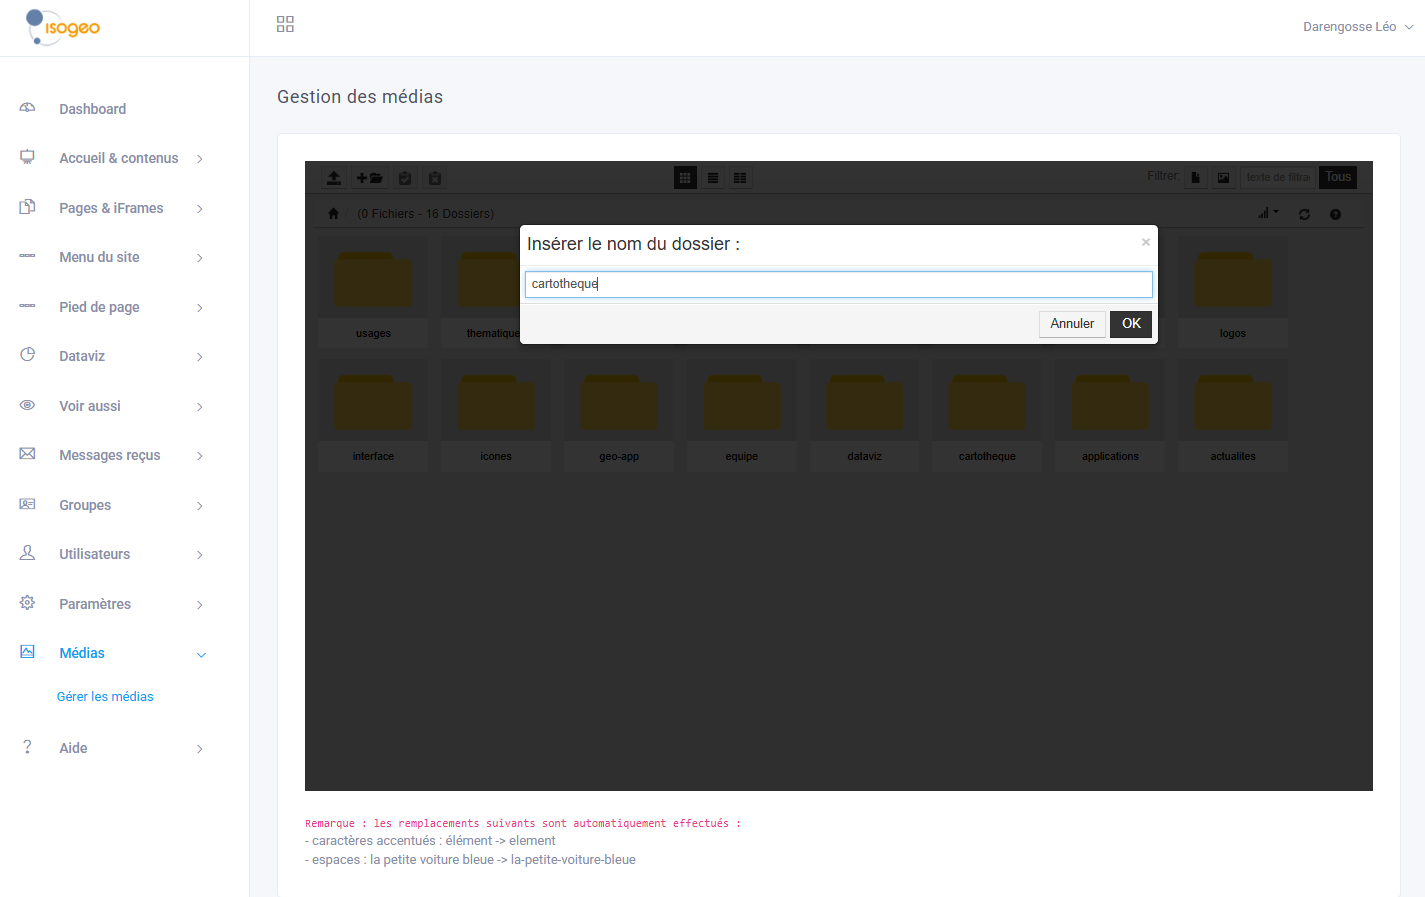
- Upload a thumbnail in portrait (300x215) or landscape (215x300) format to the appropriate folder by clicking the " Upload a File " button, then " Add Files."
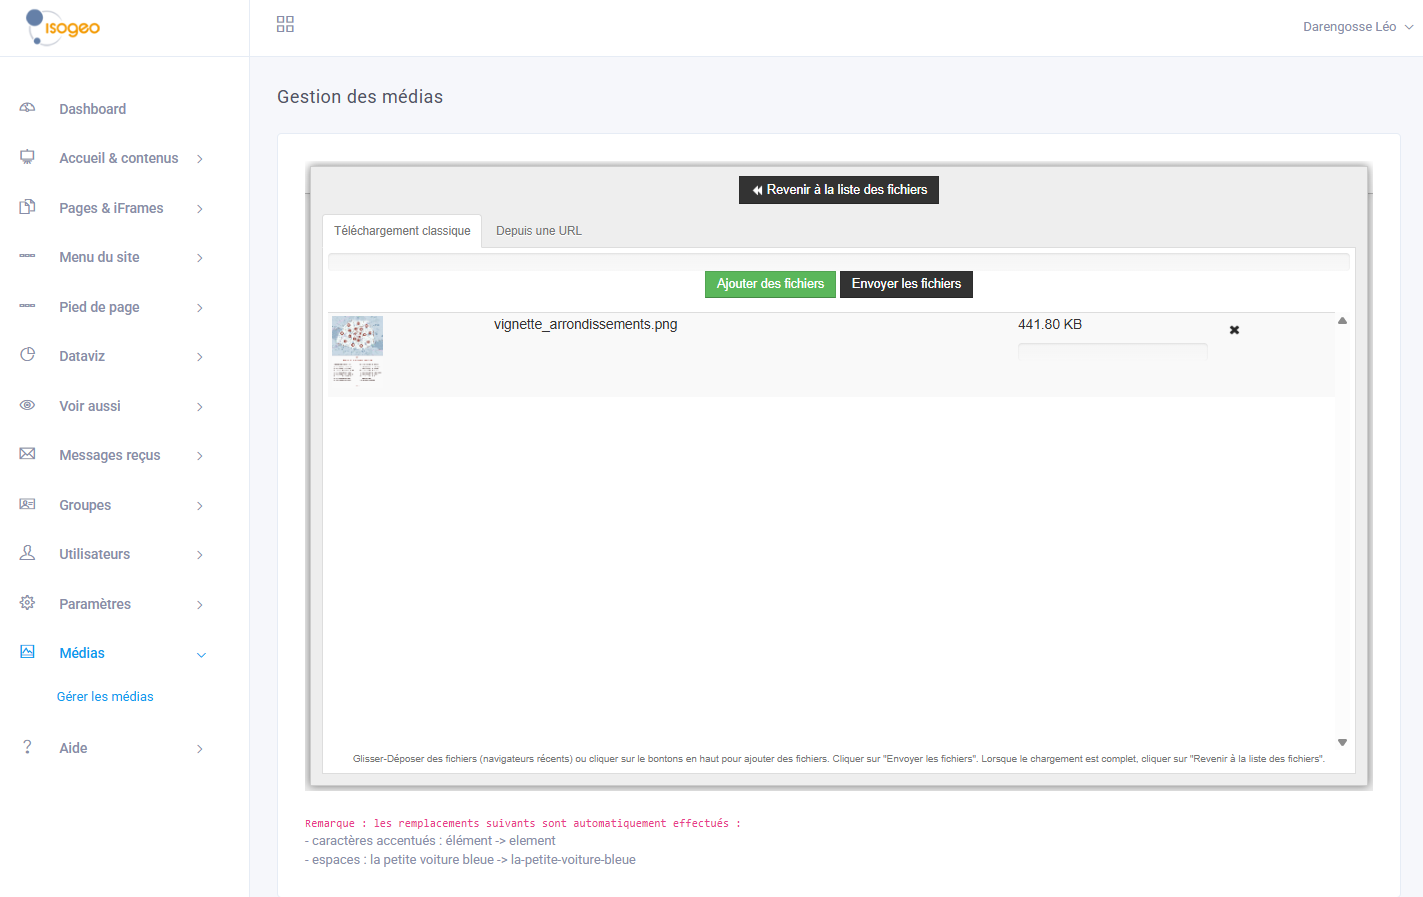
- Click " Send Files," then " Return to the File List."
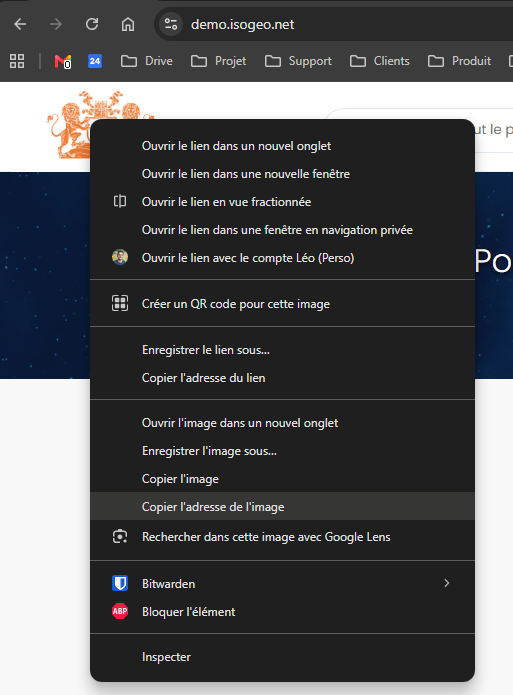
- To get the thumbnail URL, you first need to find the URL for the hosted media. To do this, right-click on the logo on the home page, select " Copy Image Address," and then open it in a new tab.
- Replace "
interface"with "map library" and the logo name with the name of your thumbnail, and you'll get the URL for the thumbnail, which you can add to the Resource record in the app.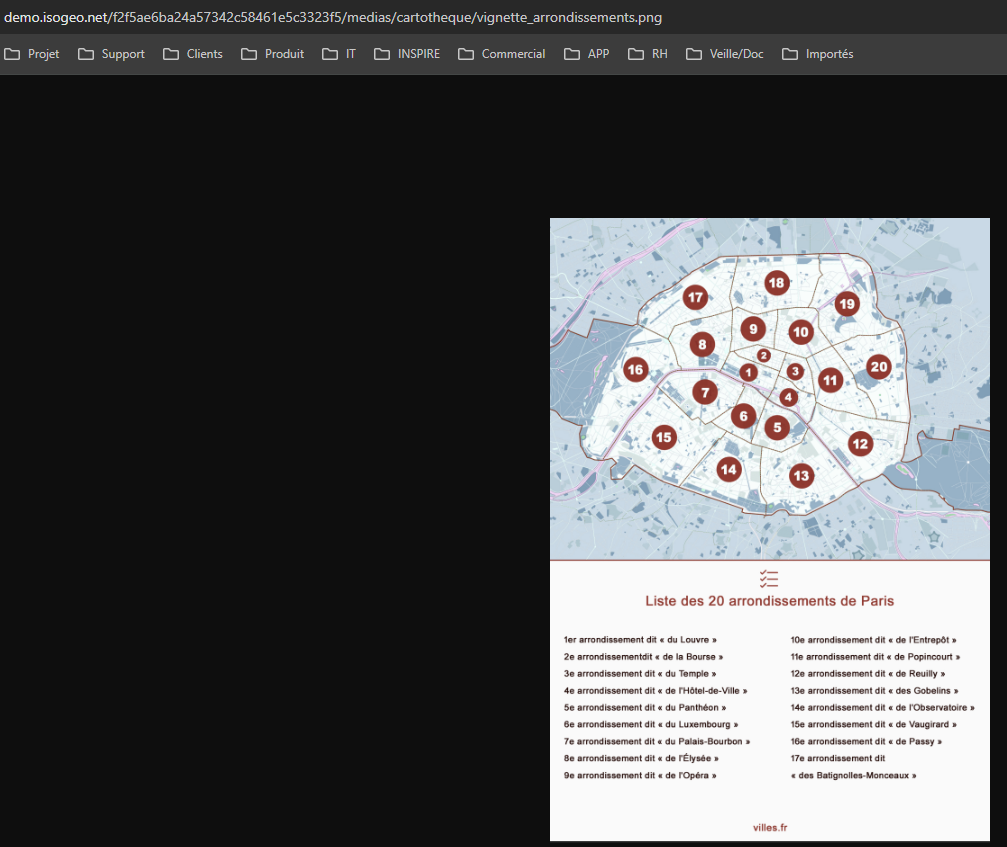
- You can follow the same steps to generate the download URL for the map in PDF or JPG format.